 Adhorika Khan
Blush is having its biggest decade since the eighties, and most of it is being applied to the wrong place. Where you put blush changes your face more than which blush you buy: high on the cheekbone lifts, on the apples sweetens (and, with time, drags), across the nose sun-kisses, too low ages, too far in stripes. The master rule fits in one line — imagine a line from your mouth corner to the top of your ear, and keep blush above it — and the face-shape adjustments below tune the rest.
This is the complete placement guide: the universal rules, placement by face shape and by the look you want, cream versus powder application, the mistakes that read as sunburn or fever, and how blush interacts with your undertone.
Key Takeaways
- The mouth-corner-to-ear-top line: blush lives above it — below drags every face down.
- Placement is the effect: cheekbone-high = lift; apples = youthful flush; nose-bridge sweep = sun-kissed; temples-connected = editorial.
- Face shape tunes the angle: round faces sweep up and out; long faces stay horizontal; square faces soften with rounded placement.
- Cream blends into skin, powder sits on it — cream-then-powder order rules apply as always.
- Two-finger rule from the nose: blush closer than that reads as fever, not flush.
Why Placement Beats Product
Blush’s job is counterfeit circulation — the flush of health, exercise, or delight, painted on demand. Faces read that flush’s location instinctively: high and diffused says lifted vitality; low and central says tired or feverish; wide and flat says the eighties are calling. The same $9 blush produces all three outcomes — which is why placement technique is the entire skill, and why the “perfect blush” hunt so often ends with the discovery that the old one was fine and the mirror strategy wasn’t.
One anatomy note before the maps: find your actual cheekbone — suck in gently or smile softly and feel the bone’s highest ridge with two fingers. Every placement below references that landmark, not the fleshy apple (which moves when you smile — more on that trap shortly).
The Universal Rules (Any Face, Any Blush)
Rule 1 — the diagonal line: mouth corner to ear top; blush stays above. This single boundary prevents the dragging, aging placement that low blush creates.
Rule 2 — the two-finger nose gap: keep color at least two finger-widths from the nose’s side; closer reads flushed-unwell rather than flushed-well.
Rule 3 — blend toward the hairline, tail up: whatever the placement, the blend’s tail lifts toward the temple, never droops toward the jaw — the direction your face follows.
Rule 4 — build in whispers: two sheer passes beat one confident stripe; blush over-application is the fastest costume in makeup (and the blot-mist-press rescue works here too).
Rule 5 — don’t smile while applying — the famous trick betrays you: smiling lifts the apples, you paint them, the smile ends, and the color settles lower than intended. Neutral face, find the bone, place deliberately.
Placement by Effect: The Four Looks
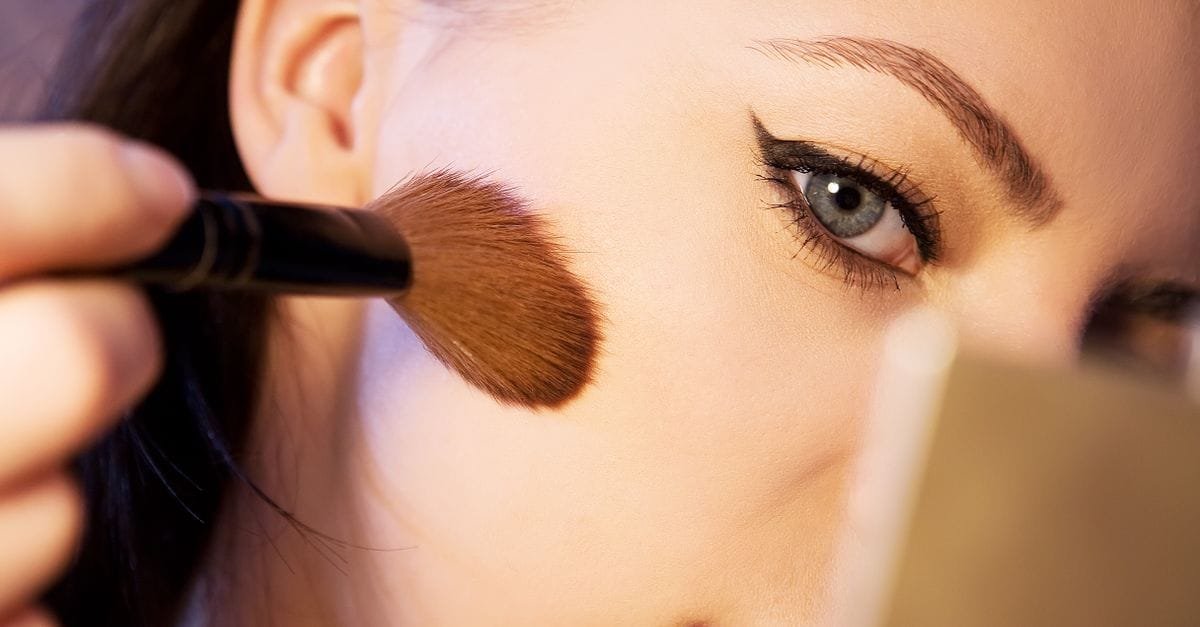
The Lift (default for most): start at the cheekbone’s highest point below the eye’s outer third, sweep up and back toward the top of the ear, concentrating color at the back. The everyday facelift — and the placement that flatters basically everyone past twenty-five.
The Youthful Flush: soft focus on the front of the cheekbone (NOT the smiling apple — the bone above it), blended outward; sweet, fresh, best on lifted young faces and softened with age rather than abandoned.
The Sun-Kissed: light pass across the nose bridge connecting both cheeks’ color — holiday freckle-season energy; keep the nose portion at half the cheek intensity.
The Editorial Drape: blush swept from cheekbone up around the temple toward the brow tail — the fashion-forward lifted wash; commit fully or not at all, and consider it occasion-wear.
Placement by Face Shape
Round: the mission is diagonal — start slightly lower on the cheekbone front and sweep decisively up and out toward the ear top; avoid apple-circles, which echo the face’s roundness. Long/oval-long: the mission is horizontal — keep blush level across the cheekbone, resisting the upward diagonal (vertical energy lengthens further); never above the eye line. Square: soften — rounded, diffused placement on the cheekbone front, blended in gentle circles, keeping color off the jaw-adjacent lower cheek where it emphasizes angles. Heart: balance the wider upper face — color lower on the cheekbone front and softly horizontal, avoiding the temples the shape already fills. Oval: the lift placement as written — the shape the maps were drawn on. And the honest footnote: face-shape rules are starting suggestions, not law — the mirror outranks the diagram, and the beginner guide’s build-slowly doctrine covers every shape.
Cream vs Powder vs Liquid: Application Mechanics
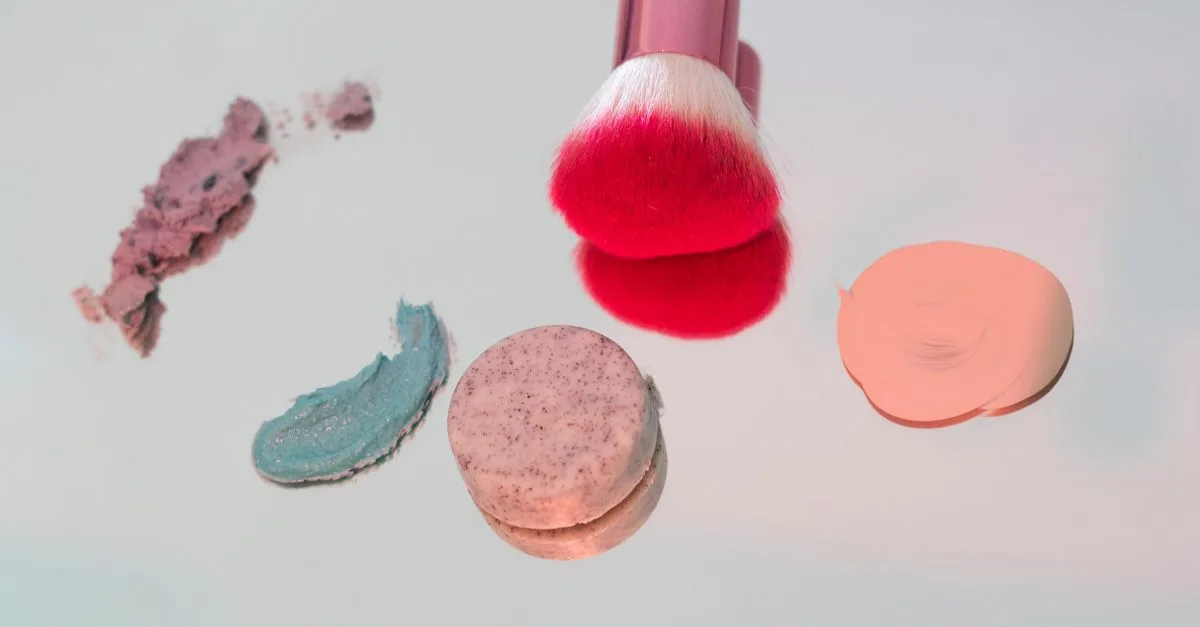
Cream blush (the era’s favorite): fingers or a dense brush, pressed and tapped into skin — body heat melts it seamless; apply after foundation, before any powder (the cream-before-powder law from our cakey guide); best for dry, mature, and natural-skin finishes — our cream blush picks cover the shelf. Powder blush: fluffy angled brush, tapped off, laid in light strokes following the placement map; best over powdered bases and for oily skin longevity. Liquid/tint: fastest to blend, fastest to stain — one dot at a time, blended immediately, on well-moisturized skin. The hybrid pro move: cream layer for the melt, whisper of matching powder on top for the wear — the placement identical in both passes.
Blush Color and Your Undertone
Placement decides the geometry; undertone decides the shade family (the full system in our undertone guide): warm undertones glow in peach, coral, terracotta, and warm rose; cool in berry, mauve, and blue-pinks; neutral borrows both; olive shines in muted, slightly brown-leaned roses and terracottas while bright candy pinks fight the skin. Depth scales intensity: deeper skin carries richer pigments beautifully (sheer pastels vanish); fair skin builds soft shades slowly. The universal cheat: your natural post-exercise flush is your reference shade — blush is impersonating it, so match the original.
The Classic Blush Mistakes, Diagnosed
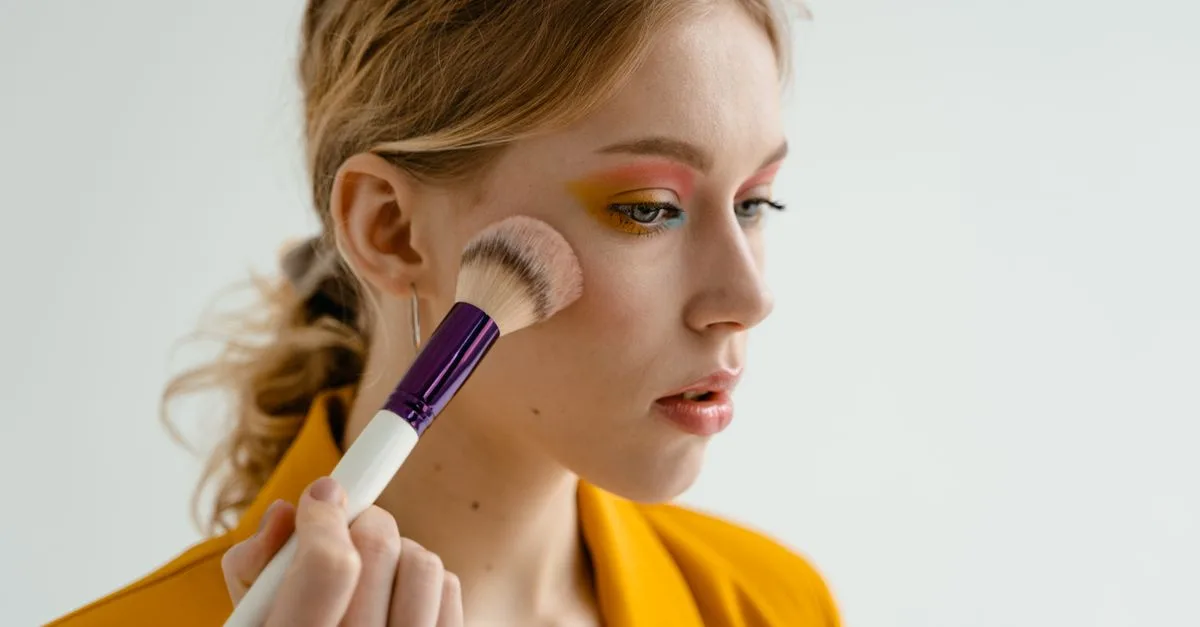
The stripe: unblended lines from over-loaded brushes — fix with a clean fluffy brush buffing the edges (or the fingertip tap for creams). The clown circle: apple-centric application in a perfect round — fix by dragging the circle’s color up and back into the lift placement. The fever: color too close to the nose — the two-finger rule exists for this. The drag: blush below the mouth-ear line, aging every face it touches — re-place, don’t just reduce. The mismatch: gorgeous blush fighting the undertone — geometry can’t fix temperature; revisit the shade family. The invisible: so cautious it’s absent — blush should be visible at conversation distance; check at arm’s length, not pressed to the mirror (and in daylight — the expired, faded pan is sometimes the real culprit).
Blush in the Bigger Face: Bronzer, Highlight, and Order
The cheek is shared real estate, and the zoning matters: bronzer lives below and behind blush (under the cheekbone, around the perimeter — warmth and shadow), blush on and above the bone (color and life), highlight on the very top of the bone and brow (light). Order of operations: bronzer first, blush second, highlight last — warmth, then color, then light — with each blended into the next so no borders show. When all three share a face, each gets dialed one notch sheerer than solo; the trio at full volume is stage makeup. On minimal days, blush alone carries the whole effect — it’s the single highest-impact color product in the bag.
The 60-Second Placement Practice
Tonight, bare-faced or over moisturizer: 1) find the cheekbone ridge with two fingers, neutral face; 2) trace the mouth-to-ear line with a finger — memorize where “above” is on your face; 3) with any blush sheered way down, place one deliberate lift-stroke per side; 4) step back to arm’s length and judge; 5) repeat the placement three days running. By day three the geometry is muscle memory, and every blush you own — including the ones that “never worked” — performs like the reviews promised. It was never the blush.
Blush by Age: The Placement That Moves With You
The face changes; the placement should follow. Twenties: everything works — apples, drapes, experiments; enjoy the full menu. Thirties-forties: the lift placement becomes the default as the apple placement starts reading slightly heavy on softening cheeks; cream formulas begin out-performing powders on fine lines. Fifties onward: placement climbs — color concentrated higher on the bone, blended with conviction toward the temple, in cream or liquid textures that move with skin instead of settling into it; powder blush over powder foundation is the combination that ages hardest (the texture-magnification story). The through-line: as natural face volume shifts downward with decades, blush’s job is pointing the eye back up — same product, migrating map. And at every age, the post-exercise flush remains the shade reference; it ages with you automatically.
The No-Mirror Emergency Placement
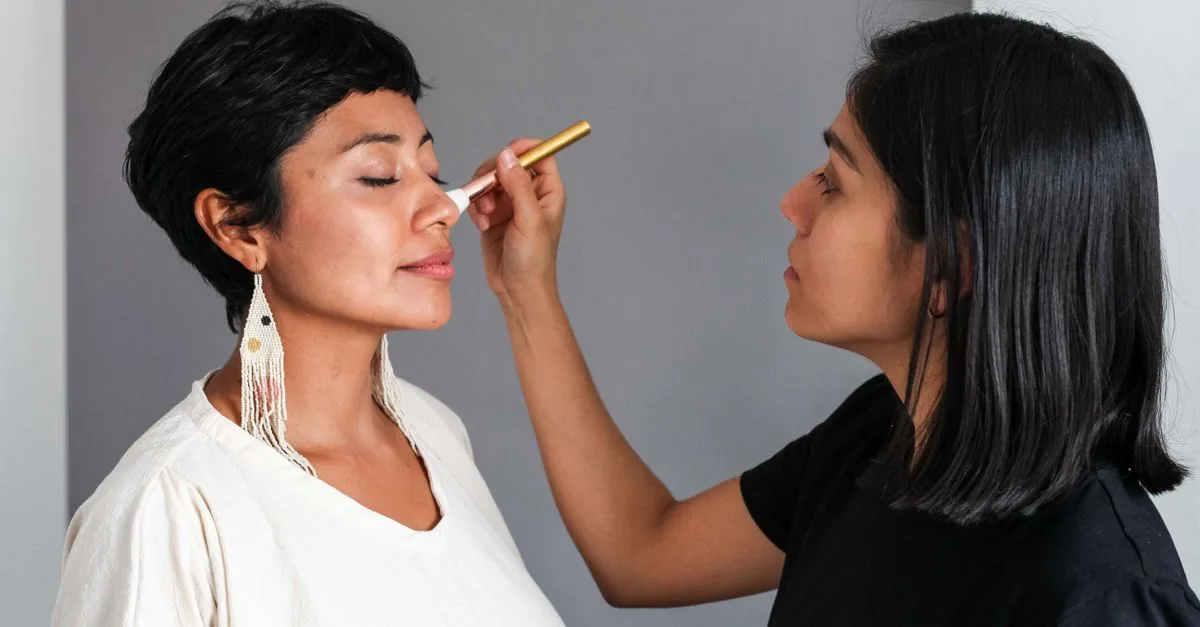
For car mirrors, office bathrooms, and gym exits: two fingers on the cheekbone ridge, cream blush dot where they land, tap-tap-tap outward and upward with the middle finger, done. The fingertip method is placement-forgiving (body heat sheers as it blends), cream sticks are the format born for it, and thirty seconds delivers eighty percent of the mirror version. Keep one cream stick in the everyday bag alongside the SPF top-up kit — between the two, the 3 p.m. face revival is a ninety-second operation with no counter space required.
The Bottom Line
Blush placement is the highest-return technique in color makeup: one anatomical landmark (the cheekbone), one boundary line (mouth-corner to ear-top), one direction (up and back), and a shape-tuned angle. Match the shade to your undertone, the formula to your skin, build in whispers, and place like you mean it — the lift was in your hands, not the pan, all along.
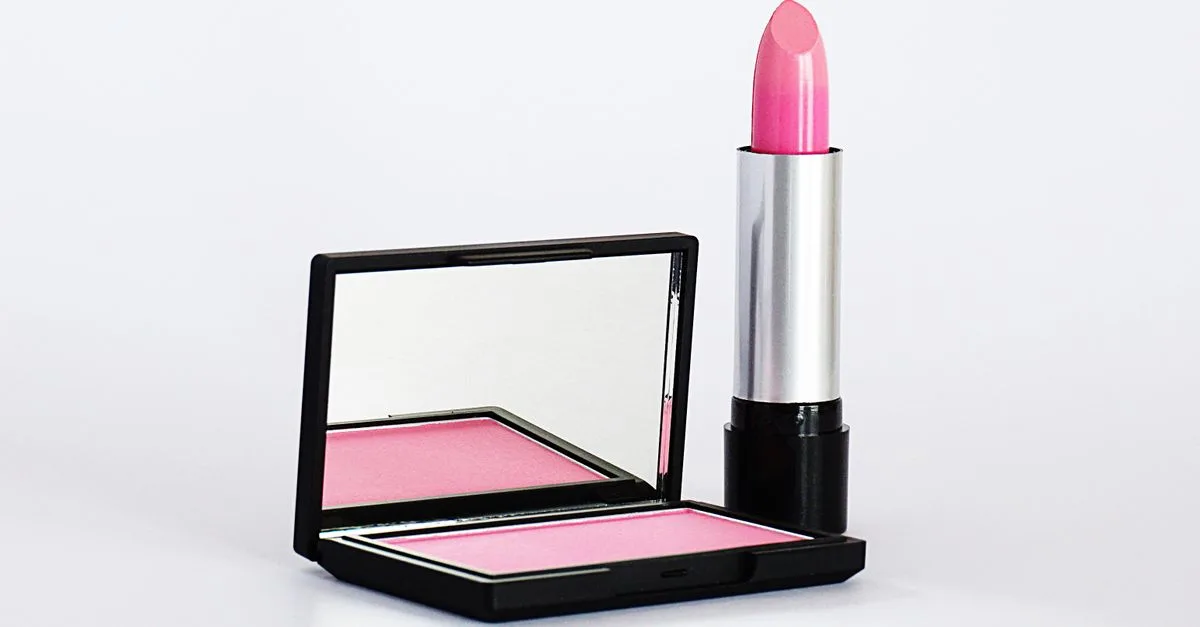
The placement kit:
The placement kit:
Frequently Asked Questions
Where should blush actually go?
Above an imaginary line from your mouth corner to the top of your ear — for most faces, starting at the cheekbone’s high point and sweeping up toward the ear. Below that line, blush drags and ages the face.
Should I smile when applying blush?
No — the classic trick backfires: smiling lifts the apples, and when the smile relaxes, your blush settles lower than intended. Keep a neutral face, find the cheekbone ridge with fingers, and place deliberately.
Where does blush go on a round face?
Diagonally: start on the front of the cheekbone and sweep decisively up and out toward the top of the ear, avoiding circular apple placement that echoes the face’s roundness.
Does cream or powder blush look more natural?
Cream melts into skin for the most flush-like finish (best on dry and mature skin); powder wears longer on oily skin. The pro combination: cream base, whisper of powder on top — identical placement in both passes.
Why does my blush look like a stripe or clown circle?
Over-loaded brush plus a single confident swipe, or apple-centered circles. Fix with a clean fluffy brush buffing edges, build in two sheer passes, and drag color up into the lift placement.
What blush color suits my undertone?
Warm undertones: peach, coral, terracotta. Cool: berry, mauve, blue-pink. Neutral: both aisles. Olive: muted, brown-leaned roses. The reference is your natural post-exercise flush — blush is impersonating it.
What goes first: bronzer, blush, or highlighter?
Bronzer (warmth, below the cheekbone), then blush (color, on and above the bone), then highlighter (light, on top of the bone) — each blended into the next, each sheerer when all three share the face.
How do I make blush last all day?
The cream-then-powder sandwich: cream blush pressed into skin, whisper of matching powder blush over it, setting spray to finish. Layered same-placement formulas outlast any single format by hours.
Can blush replace bronzer or lipstick?
Cream blush is makeup’s best multitasker — a dab warms eyelids, doubles as lip tint, and on minimal days carries the whole face. Bronzer’s warmth-and-shadow job stays its own, but blush covers surprising territory.
Where does blush go with glasses?
Slightly lower and more forward than frames sit — color hidden behind rims is wasted, and color crowding the frame line doubles up. Apply with glasses ON, adjust to what actually shows, then blend.
Is powder or cream blush better for mature skin?
Cream or liquid, almost always — they move with skin and skip the settled-into-lines behavior of powder over powder. Placement also climbs slightly higher on the bone with the decades.
Should blush go on before or after foundation?
After foundation and concealer, before setting powder if it’s cream (cream-on-cream), after powder if it’s powder blush. Blush under foundation just disappears.
How much blush is too much?
Check at arm’s length in daylight: visible and alive is right; the first thing you notice about your face is too much. Two sheer passes let you stop exactly at enough.

 Adhorika Khan